Get started
Build the smallest complete bslibreact app: a Python Shiny server and a React client that looks like a bslib page.
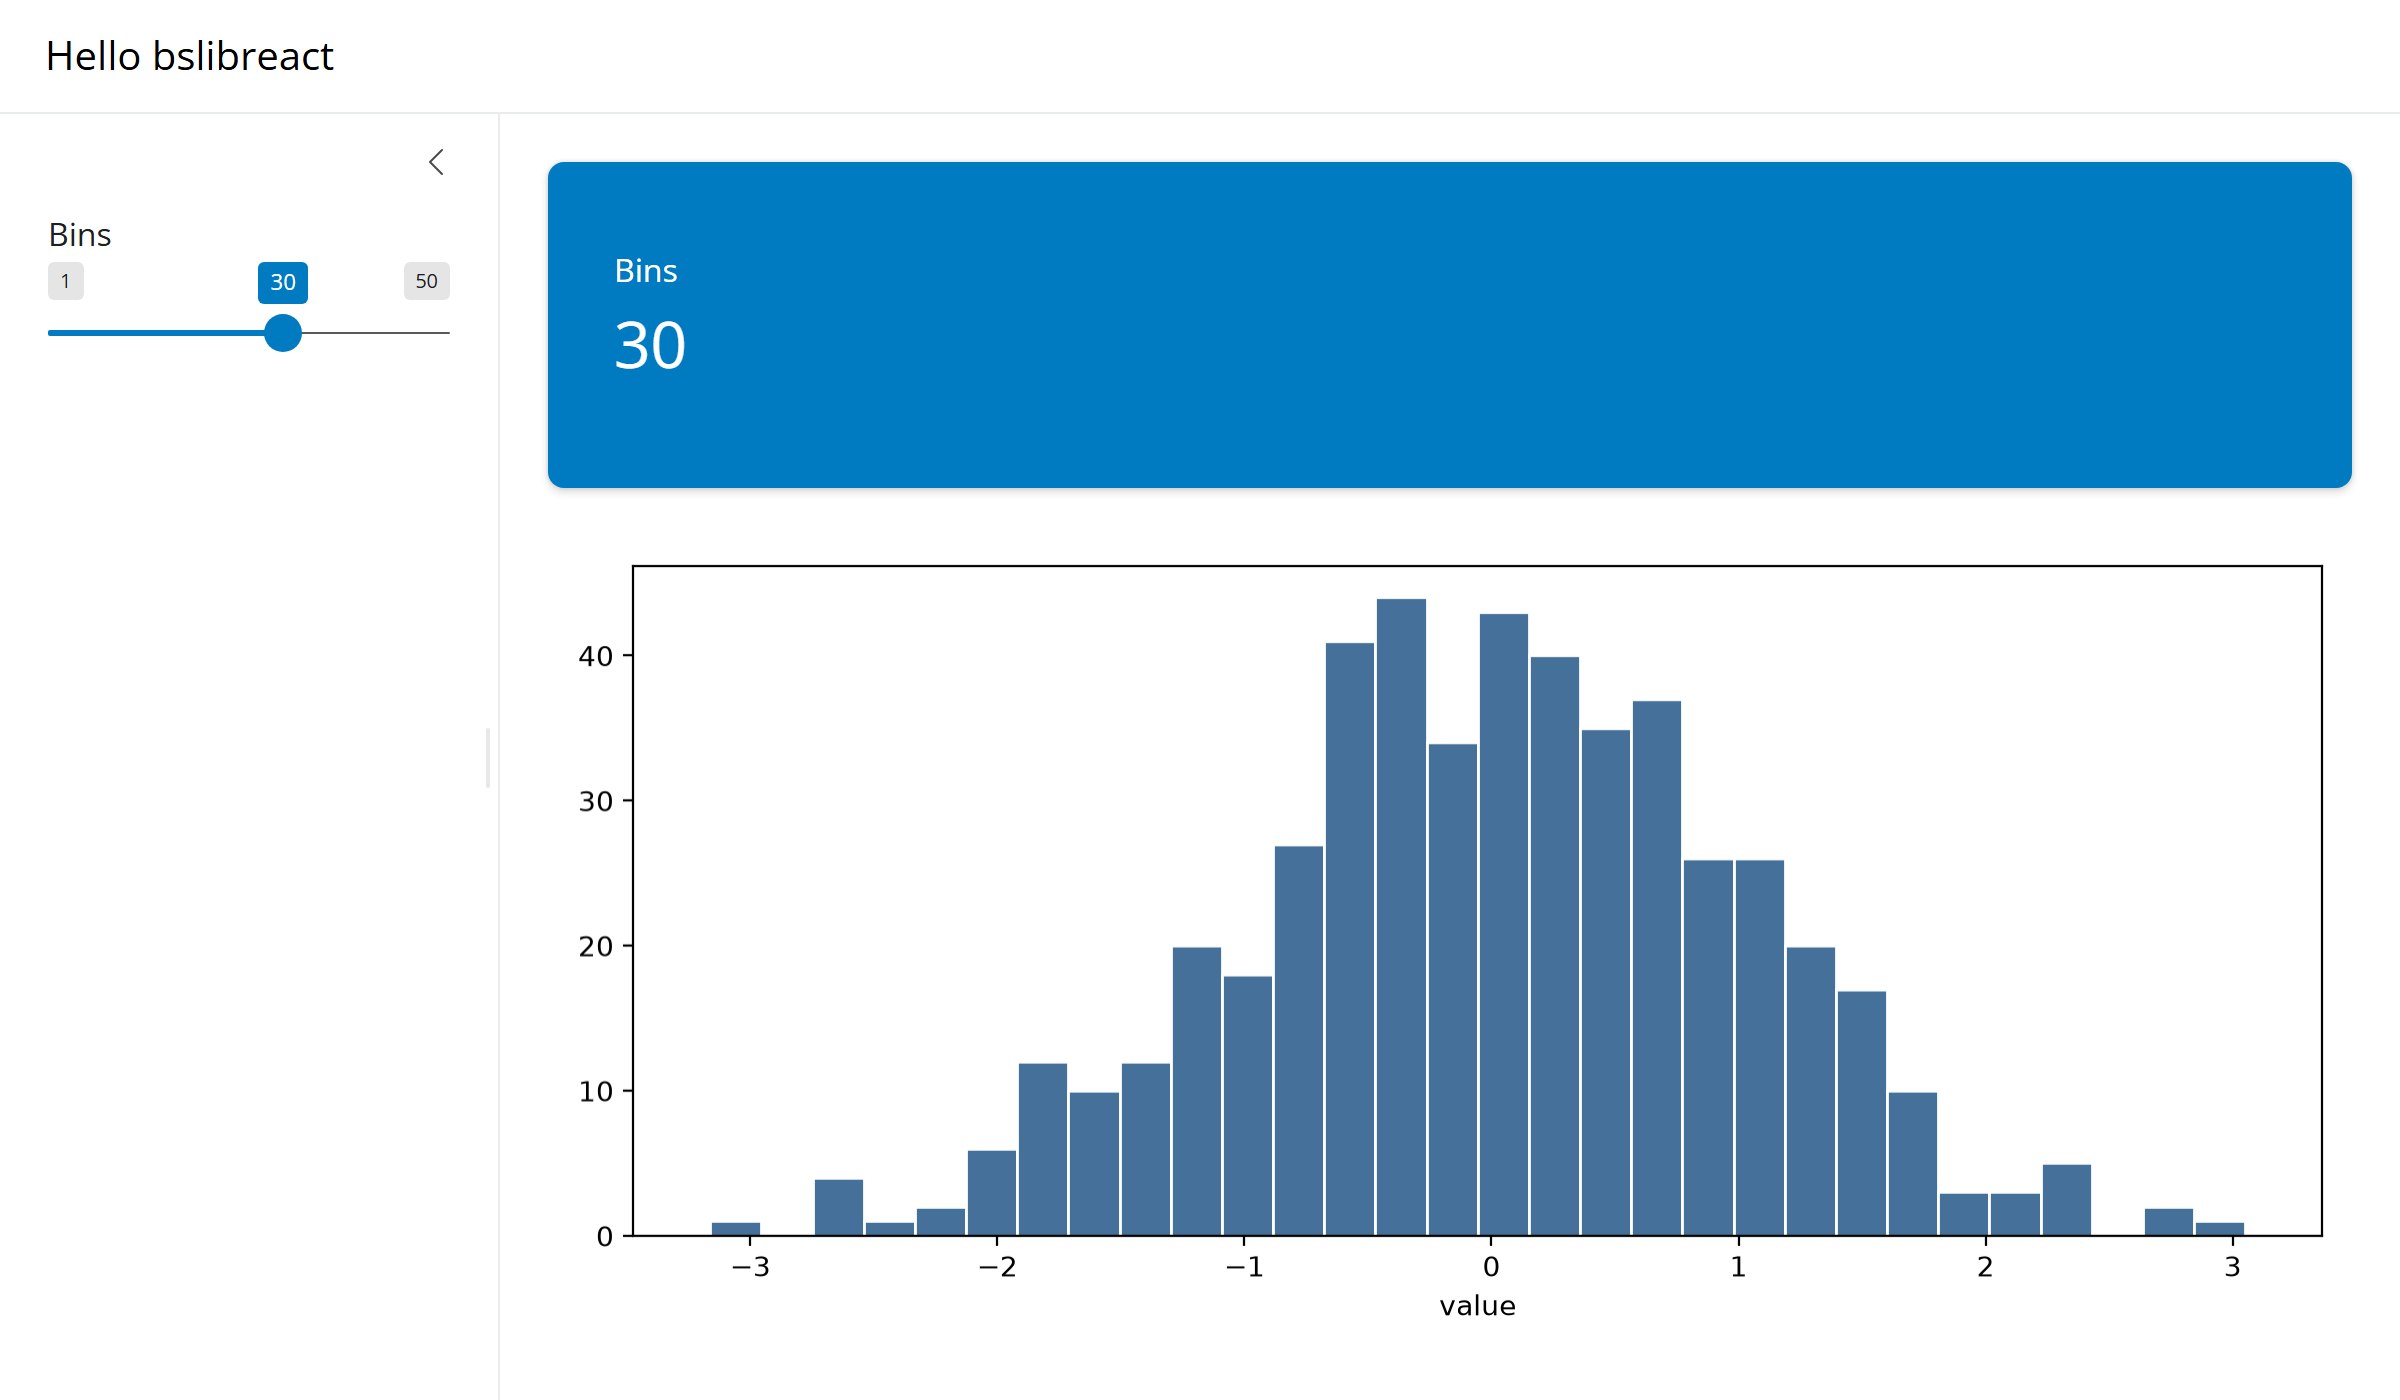
This article builds the smallest complete bslibreact app. The Shiny server is written in Python and does the reactive work. The page is a React client that shows a slider in a sidebar, a value box, and a plot, all with bslib’s own markup and styling.
Requirements
- Python 3.10 or newer.
- A current Node.js LTS release, to build the client.
- git, to copy the example.
1. Install the Python packages
pip install bslibreact shinyreact matplotlib numpybslibreact brings Shiny for Python with it. shinyreact provides the page and the plumbing between Shiny and React. matplotlib and numpy are only for this example’s plot.
2. Copy the example app
The repository holds this app as examples/01-hello. Clone the repository and copy that folder:
git clone https://github.com/samuelbharti/bslibreact.git
cp -R bslibreact/examples/01-hello myapp
cd myapp
The folder has two halves:
| File | Role |
|---|---|
app.py |
The Shiny server. It holds reactive code only. |
src/App.tsx |
The React client. It lays out the page. |
src/ui.tsx |
Mounts App on the page. It is the same in every app. |
vite.config.ts |
Builds src/ into www/ui.js. |
www/ui.js |
The built client that the server sends to the browser. |
app.R is the same server in R. Delete it if the app only needs Python.
3. Read the server
app.py has no layout code. Its page is shinyreact’s page_react(), and page_deps() gives that page the CSS and JavaScript a bslib page would attach on its own.
import matplotlib.pyplot as plt
import numpy as np
from bslibreact import host_input, page_deps
from shiny import App, render, ui
from shinyreact import page_react

app_theme = ui.Theme()

app_ui = page_react(
    page_deps(app_theme),
    title="Hello bslibreact",
    theme=app_theme,
)
The server function then does three things.
def server(input, output, session):
    host_input(output, "bins", lambda: ui.input_slider("bins", "Bins", 1, 50, 30))

    @render.plot
    def plot():
        bins = input.bins()
        fig, ax = plt.subplots()
        ax.hist(np.random.normal(size=500), bins=bins, color="#447099", edgecolor="white")
        return fig

    @render.text
    def bins_count():
        return str(input.bins())


app = App(app_ui, server)
host_input() renders a real ui.input_slider() on the server and hosts it for the client to display, so the slider keeps the look and behaviour Shiny gives it. The client mounts it under the id bins_ui, and the server reads its value as input.bins(), as in any Shiny app.
plot and bins_count are ordinary Shiny outputs. A hosted slider has no value until the client has mounted it. Until then input.bins() stops the output silently, so both stay blank and then fill in. plot() reads the input before it opens a figure, so no figure is left open in the meantime.
4. Read the client
src/App.tsx is the whole page. Each component reproduces the markup of one bslib or Shiny call.
import {
  PageSidebar,
  SliderInput,
  PlotOutput,
  ValueBox,
  TextOutput,
  useShinyInitialized,
} from "bslibreact";

export default function App() {
  const ready = useShinyInitialized();
  if (!ready) return null;

  return (
    <PageSidebar title="Hello bslibreact" sidebar={<SliderInput id="bins_ui" />}>
      <ValueBox title="Bins">
        <TextOutput id="bins_count" className="value-box-value" />
      </ValueBox>
      <PlotOutput id="plot" height="400px" />
    </PageSidebar>
  );
}
The ids connect the two halves:
| Client | Server |
|---|---|
<SliderInput id="bins_ui" /> |
host_input(output, "bins", lambda: ui.input_slider("bins", ...)) |
<PlotOutput id="plot" /> |
@render.plot def plot() |
<TextOutput id="bins_count" /> |
@render.text def bins_count() |
A hosted input always carries the _ui suffix on the client. bins is the slider’s own input id, so the element that hosts it needs a different one.
5. Build the client
npm install
npm run build
npm install fetches the bslibreact npm package, and the build writes www/ui.js. While developing, npm run dev rebuilds on every change to src/.
6. Run the app
shiny run app.pyOpen the address it prints. The page matches the screenshot above. Move the slider, and the value box and the histogram both update.
Next steps
- Example: volcano plot walks through a larger app, with several hosted inputs, value boxes and a Shiny module.
- The API reference documents
page_deps(),host_input()andbslibreact_dep(). - The JavaScript reference lists every component and its props.
- Building a new app covers hosting more widgets, the page setup, and deployment.